
 ).
).I wanted to build a new gaming table (6X4) that could be used in different scenarios, so I wanted it to be modular and expandable. This is what I came up with and this will be my record of the trial and errors of building this board.
THE PLAN:
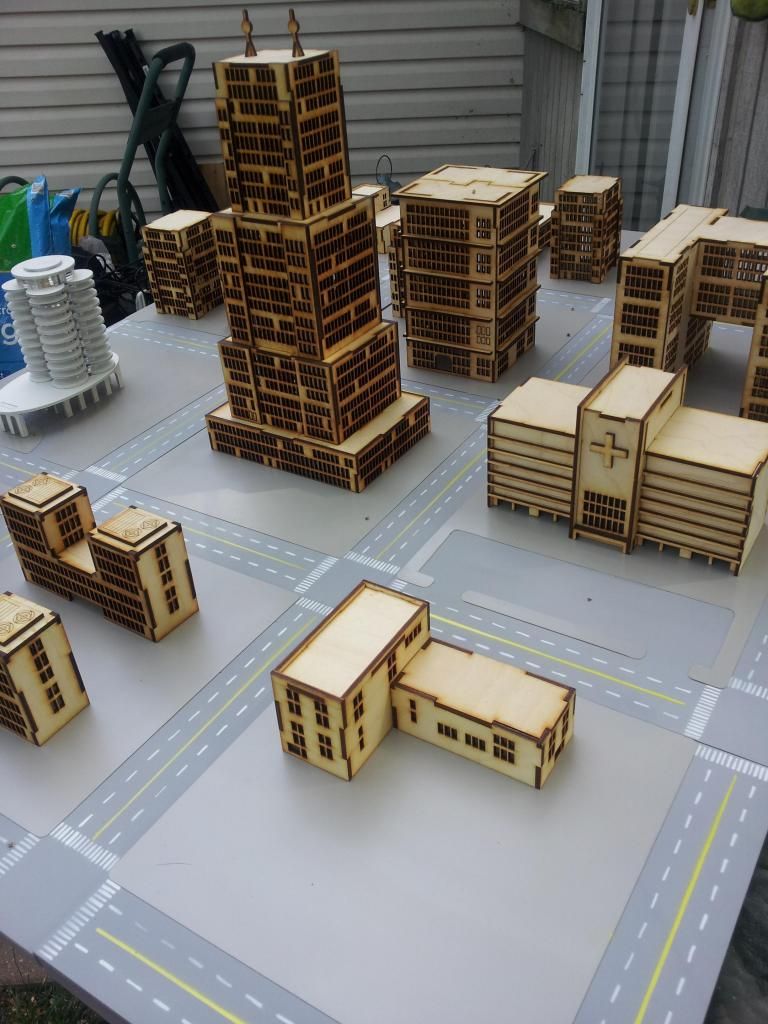
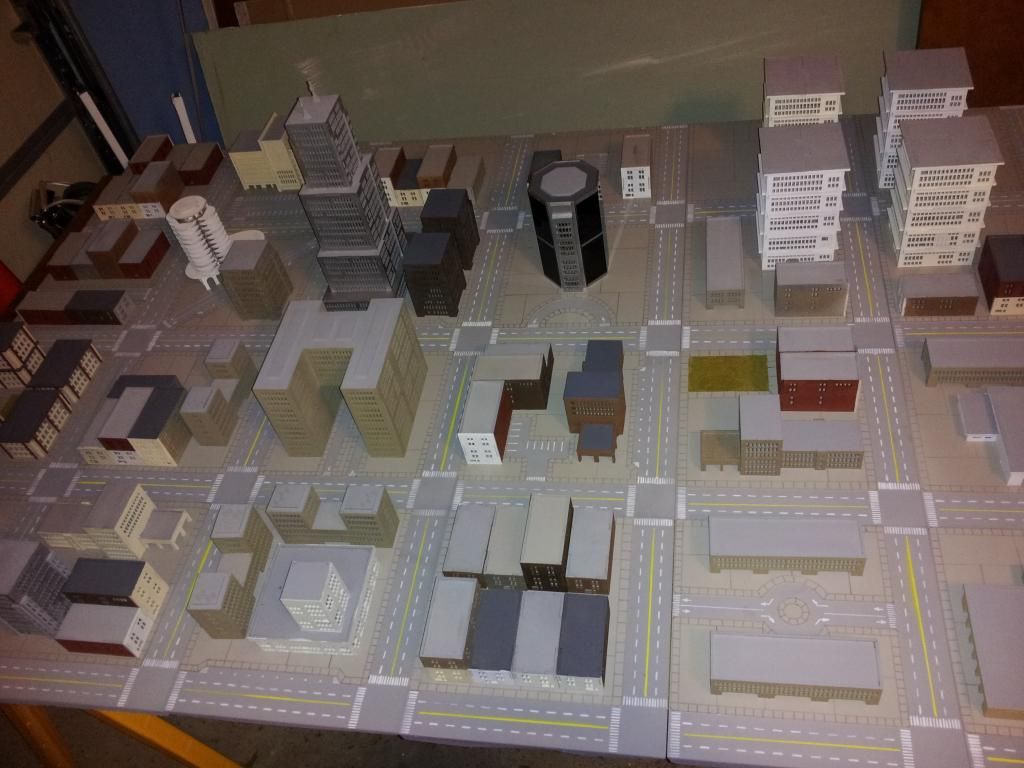
I designed the board to be built in 12”X12” sections. Each section will be built as a city block. In this way I can rearrange the blocks to create different scenarios, or build new blocks for different objectives.
My first trial tile will test the appearance and construction options.
Then, once I know I can build it, I will build the following:
24 – random city tiles that includes roads, parking lots, and parks. (almost complete)
4 – Beach tiles that would allow a beach landing
1 – River Inlet to the Ocean
6 – River tiles for a river and bridges in the city.
6 – Airport tiles to create a runway and tarmac for an airport and civilian terminal/military base
2 – city block craters (destroyed city blocks tiles)
4 – ocean tiles to mate up to the beach tiles
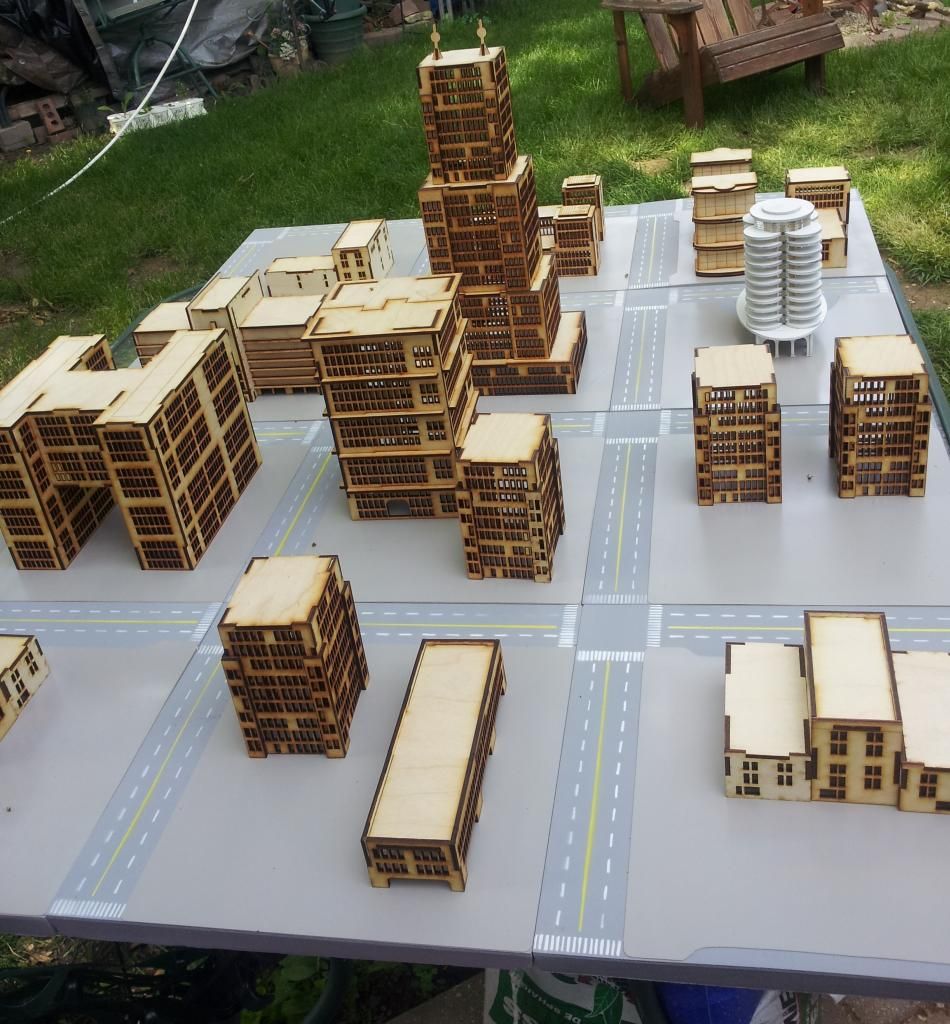
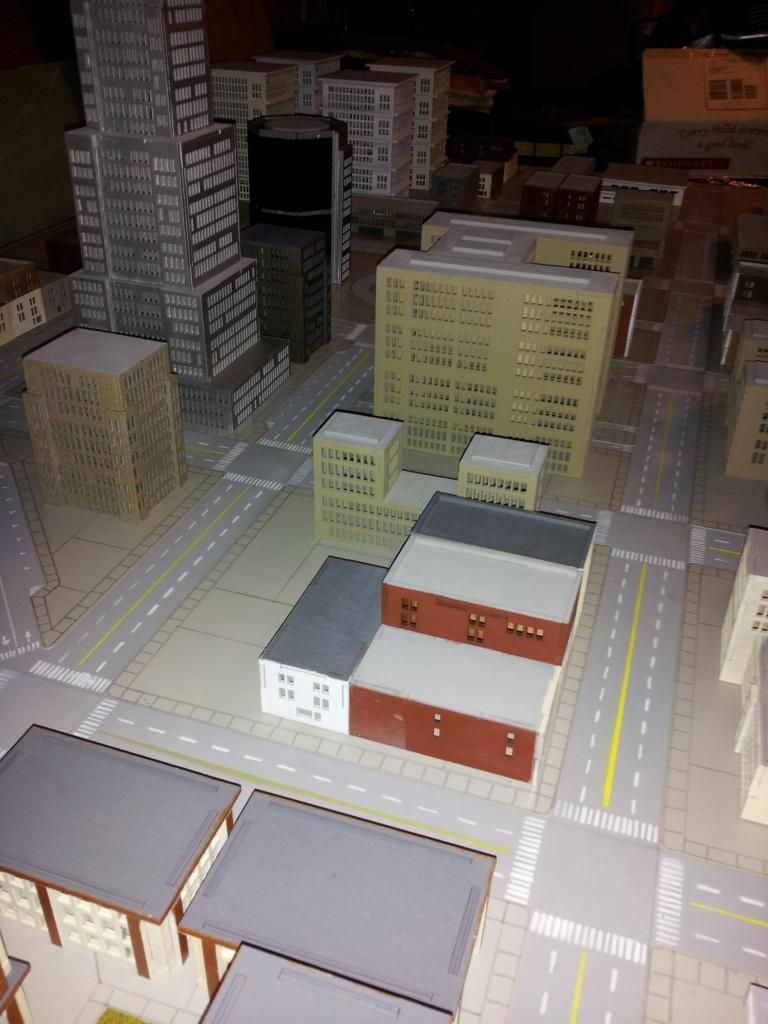
All of my buildings will not be attached to the tiles so they can be placed anywhere within the city block. And easily replaced by debris should one be destroyed. The building I plan on using will be the Burn In Designs buildings as I liked their quality and sturdiness.
Finally, I will build a 6X4 table with a lip to hold the tiles in place. In this way the board could be scrolled in a direction by removing the tiles on the far end, pushing the remaining 20 tiles in that direction, then inserting new tiles on the near end adding buildings as required. This means the surface of the support should be a nylon material or something as slick. The table should be able to break down into smaller sections for easy transportation and the tiles should have a carrier/ cabinet to hold them and protect them from damage.
FIRST TILE BUILD
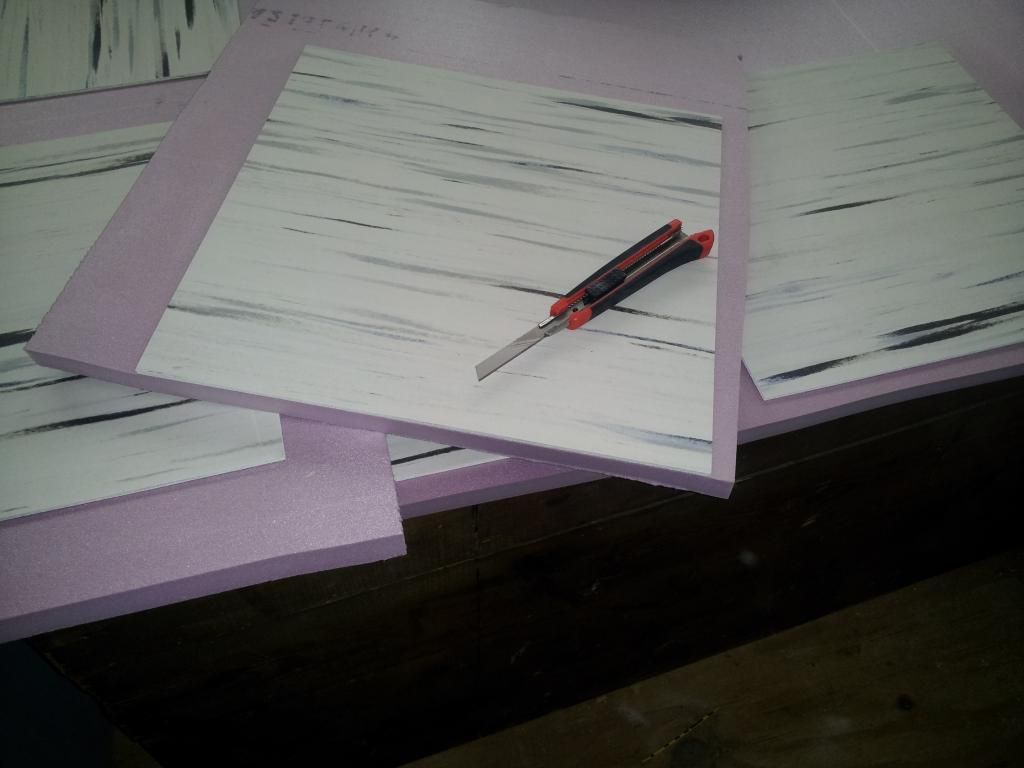
After some trial and error, I found that I could not use the Blue insulation foam for the tile for three reasons…First, they have a tendency to chip and crush easily with handling; second, they do not have a good texture for a street at that scale; finally, it is difficult to get an exact 12” square cut out. So I tried using MDF and had similar issues. Hence, I do what I always do when I need ideas…go to the local home improvement store. There I found the solution.
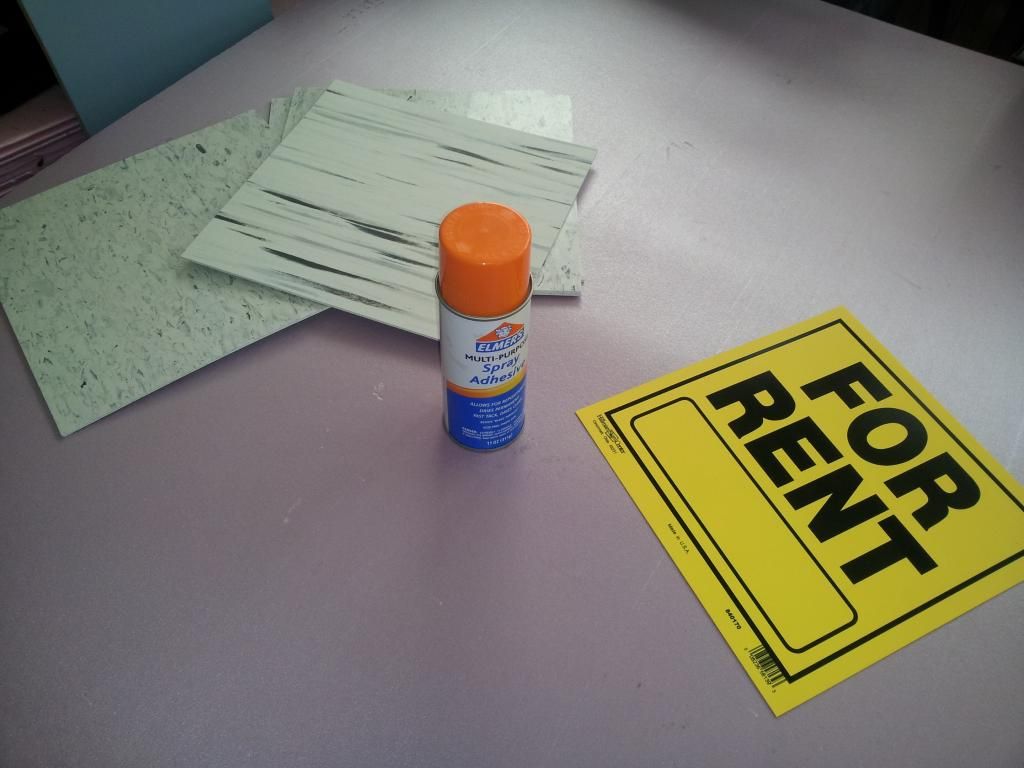
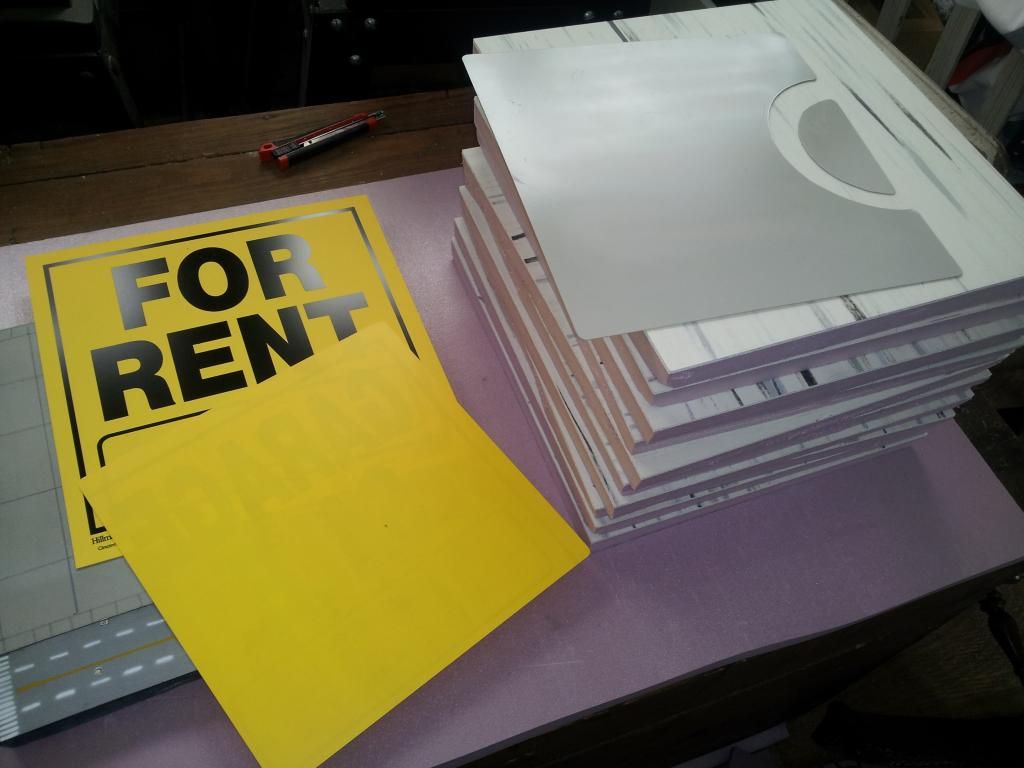
I will use a standard vinyl floor tile (62 cents each), mount it on blue foam (8X4 sheet at $10 or 32 cents for a 12” square) so that I can create depth under the ‘concrete’ layer for making craters and other effects. Now I need a curb to outline the streets. A 6” curb scales down to about .020 inch. Road ways are typically 12’ wide which scales to about .5 inches so 4 lanes would be 2 inches. So I would need to cover 10” square on the 12” tile leaving a road on the top edge and one of the sides. Looking for sources of styrene that would be 10”x10” became a little difficult, until again the home improvement store came through again. I found these babies: 11”x11” no hunting signs ($1.29) made of .020 inch styrene. Perfect.
So, I have a half inch layer of foam (dirt) with a vinyl tile on top (concrete) that I can use as a guide to cut the foam, then another layer of styrene for the sidewalk and curbs. All of this can be scored with a knife edge or a punch to add detail like expansion joints, sewer drains, and manhole covers. Also I can create good craters by breaking the vinyl and styrene layers and cratering the foam (keeping the pieces to scatter around as debris) for damaged tiles. The depth of the foam also allows me to cut it out for river edges and beaches.
So right now the cost is (1.29+.62+.32=$2.23) per tile for materials. Not bad.
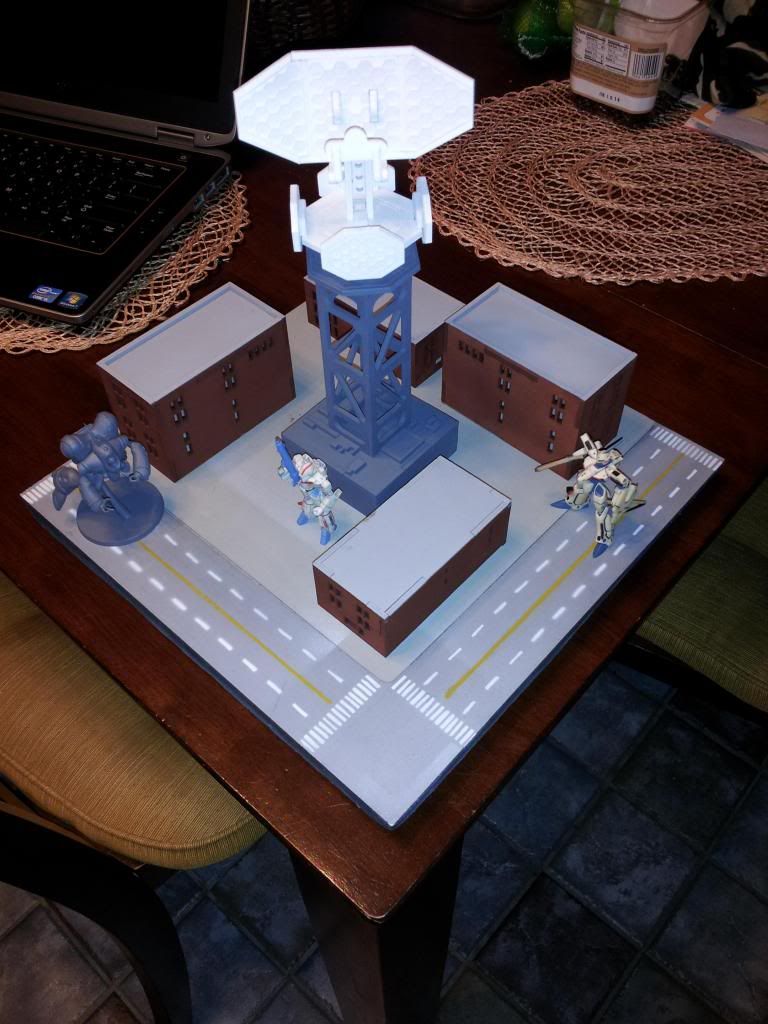
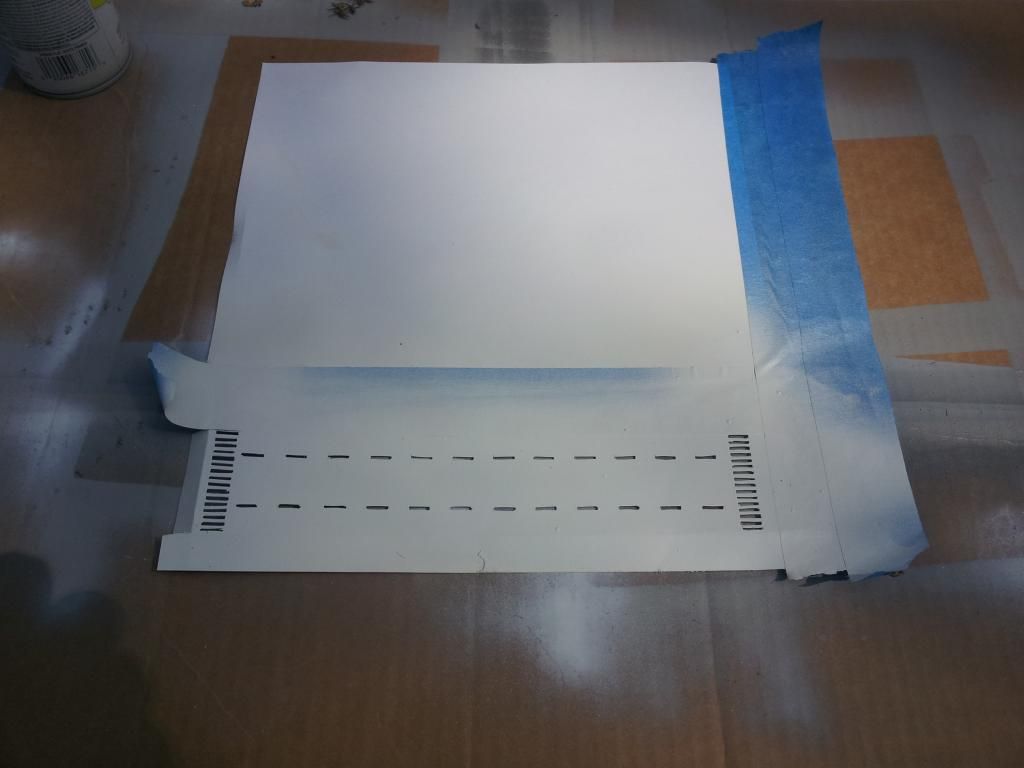
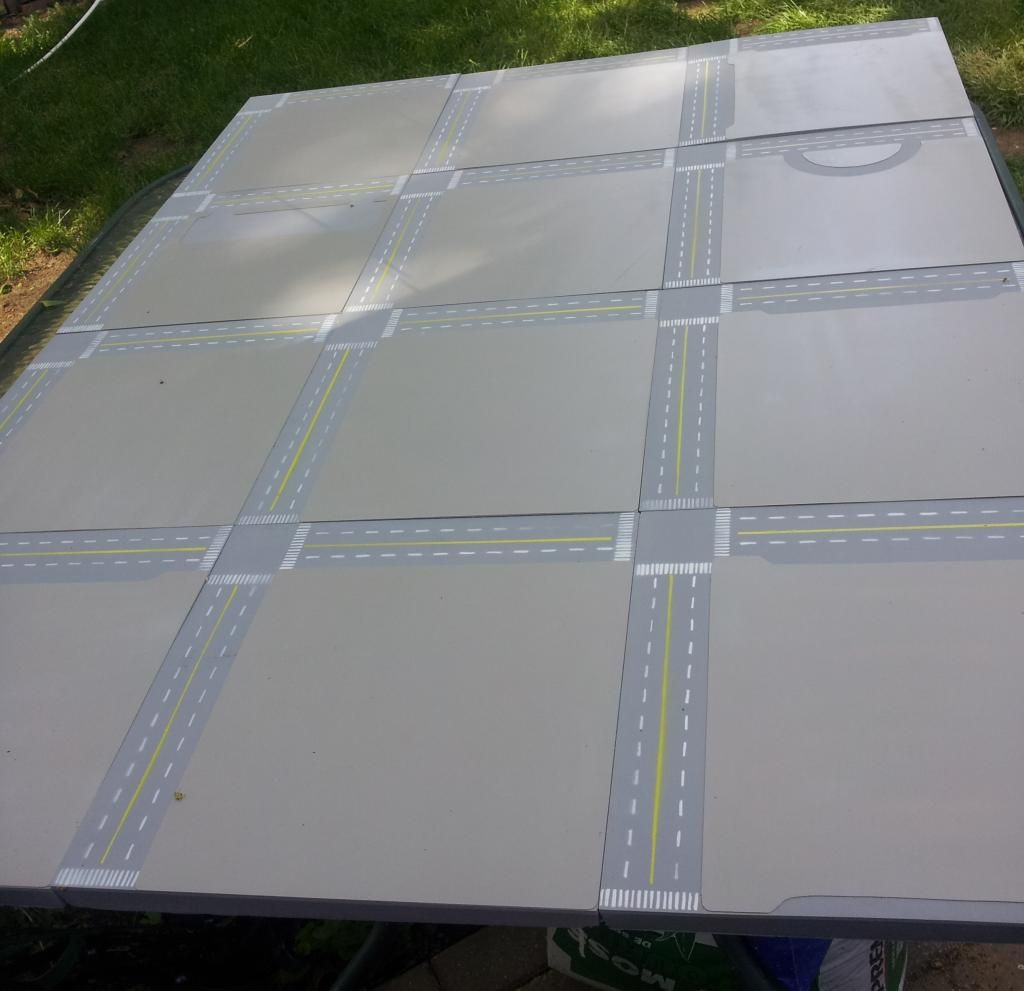
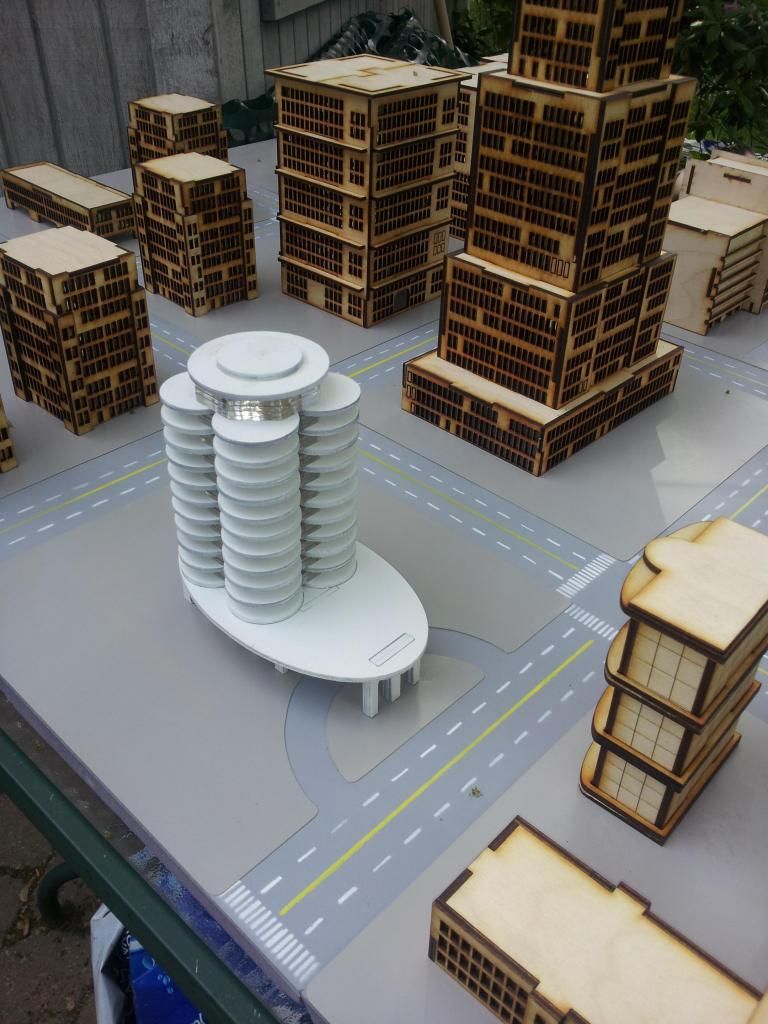
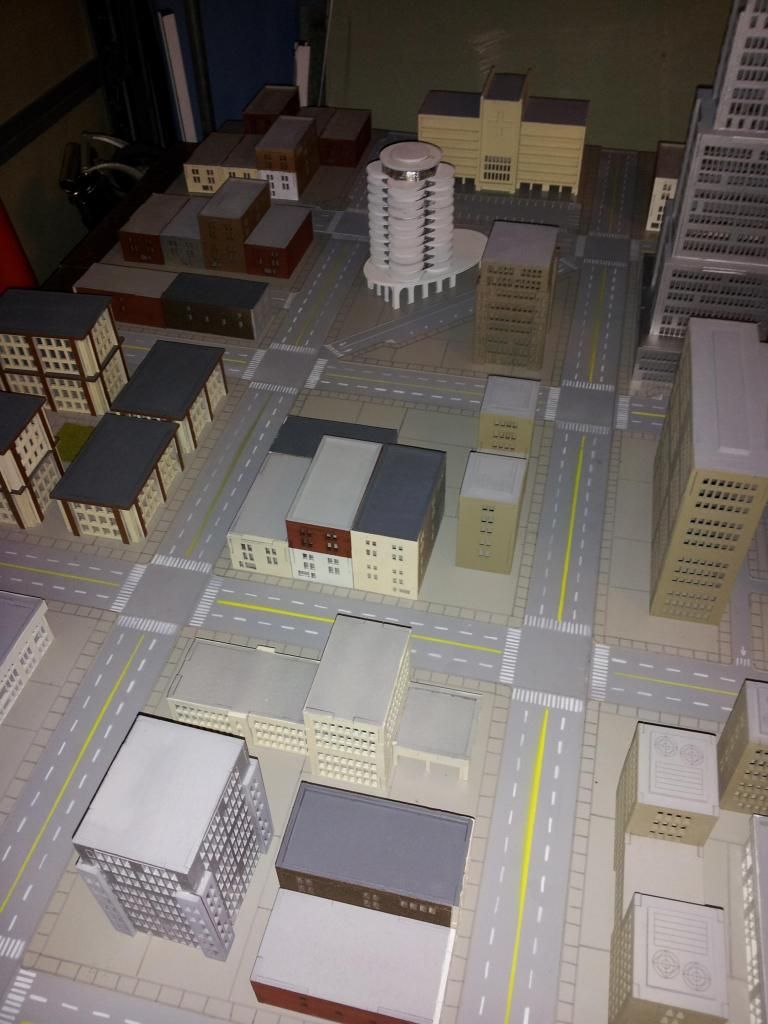
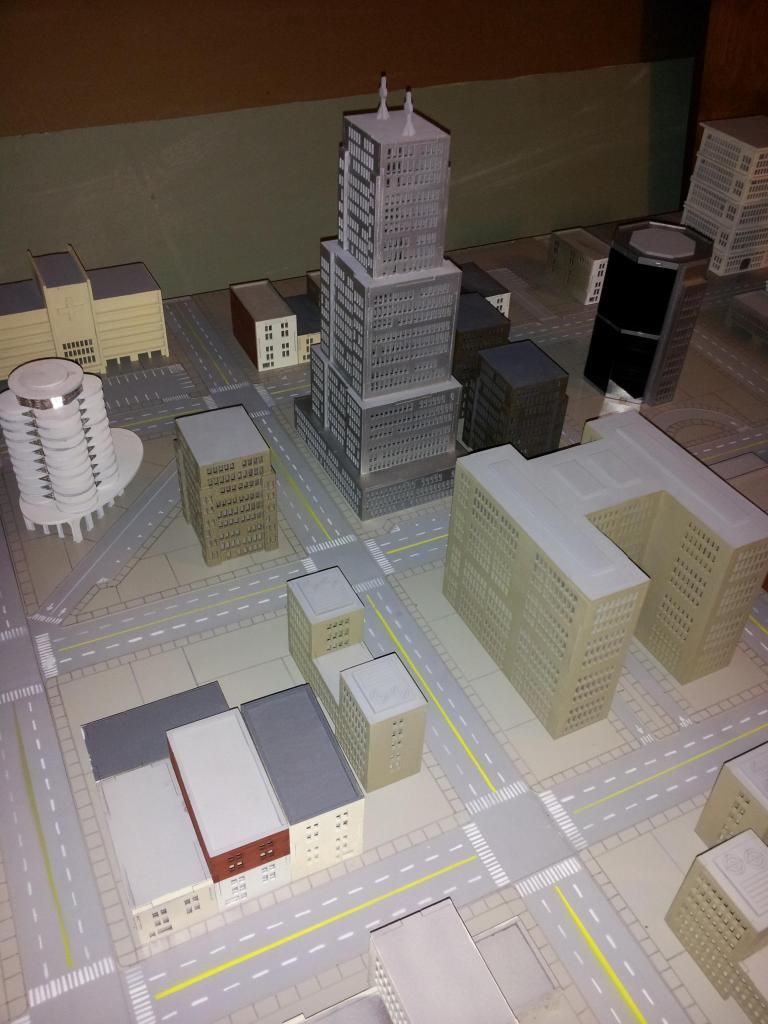
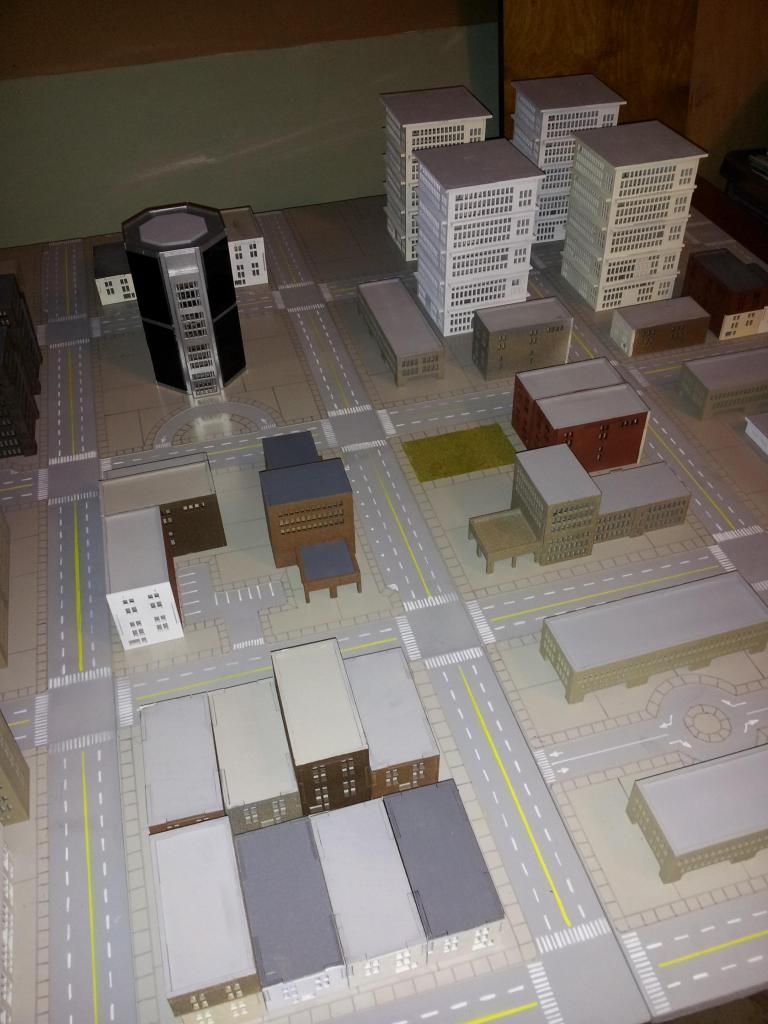
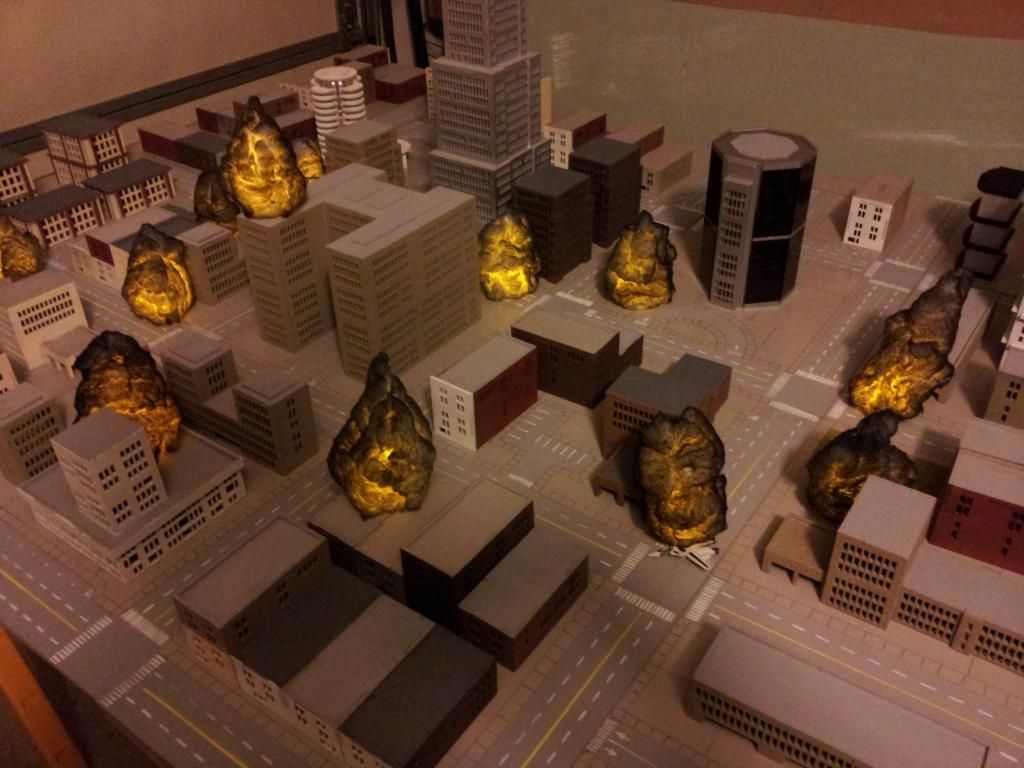
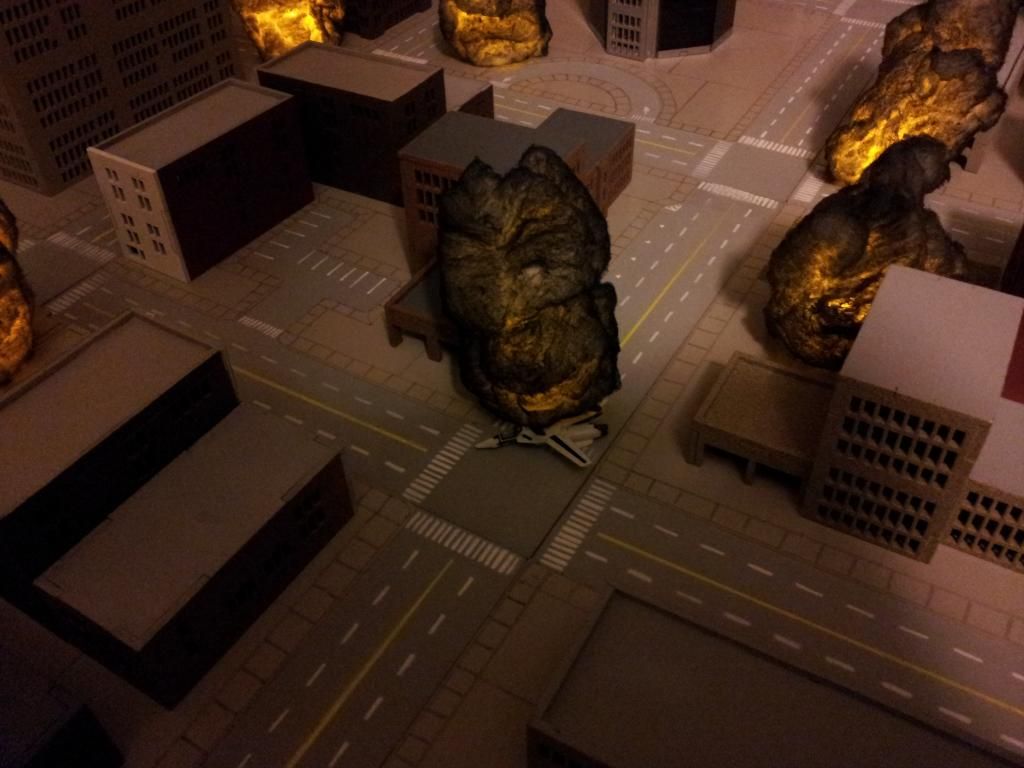
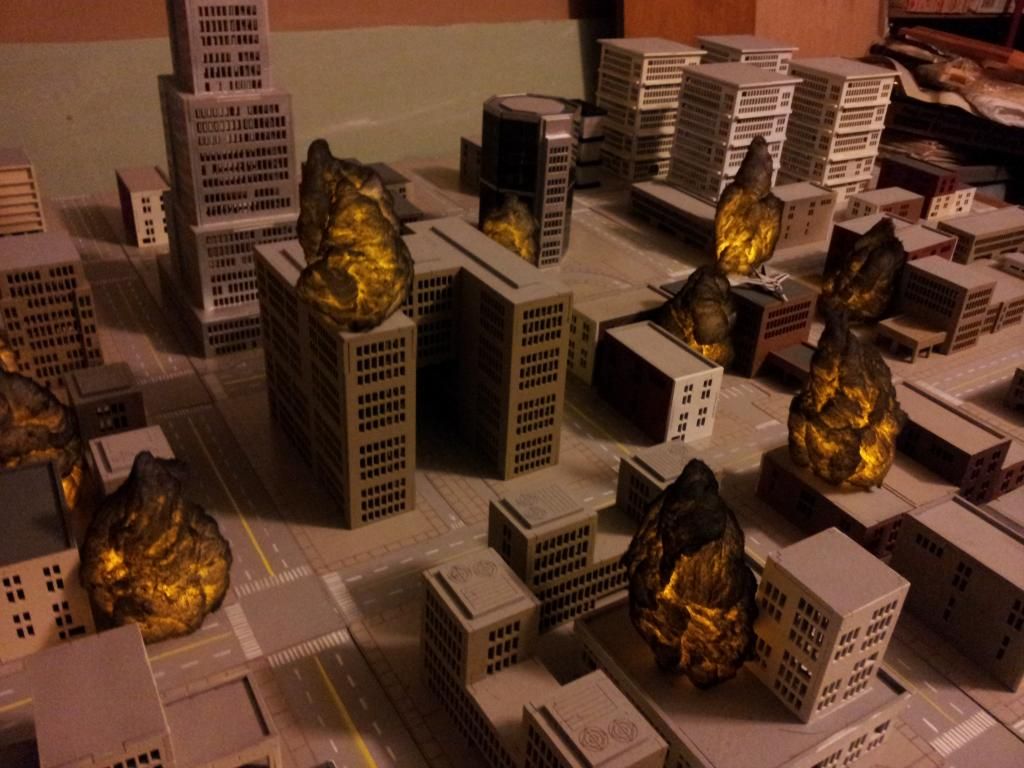
I assembled my trial tile, painting the road black and the sidewalk gray primer. I didn’t like to color so I went back and sprayed it again with lighter grays. First I painted the lines using a paint stick, but they came out way too sloppy. So I made two stencils and spray painted them. Then washed the roads with darker and darker shades to get the effect I wanted. Then a few highlights on the sidewalk were added.
I added a few rough painted buildings and my 1/250 scale VTs for size comparison.
http://i56.photobucket.com/albums/g196/Jakovaltrade/Terrain%20Test%20Robotech/20131009_190654.jpg
http://i56.photobucket.com/albums/g196/Jakovaltrade/Terrain%20Test%20Robotech/20131009_190522.jpg
Things I will do different in the production run:
1. I will score the sidewalk expansion joints deeper so the wash will highlight them more.
2. I will tape off the stencil more to protect from overspray.
3. I will get a better source for styrene…I should be able to get it cheaper.
The Island Package has been ordered from Burn In Designs, no word on delivery yet. I have the Blue Foam and I will purchase the other materials. Time to build a city.
More to come...


 Please tell me you will be bring this to the OH in 2015!


 ).
).


